AWS EC2: A Comprehensive Guide to Instance Management
With SSH troubleshooting and EC2 best practices

I am an electrical engineer with a passion for DevOps and Cloud Engineering, I bring a unique perspective to the world of technology. My expertise includes a wide range of skills including DevOps methodologies, AWS Cloud, Jenkins, CI/CD, MAVEN, Linux, Shell Scripting, Python, YAML scripts, Groovy Scripts, Assembly language, Ansible, Docker, Kubernetes, Grafana, Tomcat, GitHub, Git, Docker Swarm, Terraform IaC, Cloud Engineering, and Networking. With a deep understanding of these technologies, I am able to design and implement complex systems that are both efficient and scalable. Whether working with large-scale enterprise systems or small startups, I am dedicated to delivering innovative solutions that drive success.
Introduction
In the ever-evolving world of cloud computing, Amazon Web Services (AWS) has emerged as a dominant player, providing a wide range of services to meet various computing needs. Among these services, Amazon Elastic Compute Cloud (EC2) stands out as a cornerstone for deploying and managing virtual servers. As we embark on our journey toward success in the AWS Certified Cloud Practitioner (CCP) exam, we delve into the intricacies of AWS EC2. Together, we'll explore its features, uncover best practices, troubleshoot SSH connectivity, discover effective ways to connect instances and dive into the world of EC2's purchasing options.
As we navigate the exciting realm of cloud technology, let us remember the words of Steve Jobs: "The only way to do great work is to love what you do." With passion and dedication, we embrace the study of AWS EC2, knowing that our love for this field will lead us to achieve extraordinary things in our journey to become AWS Certified Cloud Practitioners.
AWS EC2: An Overview
Amazon Elastic Compute Cloud (EC2) is a foundational service within Amazon Web Services (AWS) that provides scalable, virtual computing resources in the cloud. It allows users to launch and manage virtual servers, known as instances, and offers a wide range of features to cater to diverse computing needs. Here is a detailed overview of AWS EC2:
Instance Types:
Amazon EC2 offers a wide range of instance types, each optimized for different workloads and performance requirements. Instance types are categorized based on the combination of their compute, memory, storage, and networking capabilities. Here is a detailed explanation of commonly used EC2 instance types:
- General Purpose Instances (e.g., t2.micro, t3.small): General Purpose instances are designed to deliver a balanced combination of CPU, memory, and networking resources. They are suitable for a wide range of workloads, including web servers, small databases, and development environments. Some common General Purpose instance types include:
t2.micro: This is one of the smallest and most cost-effective instance types, featuring 1 virtual CPU (vCPU) and 1 GiB of memory. It provides burstable performance with the ability to accumulate CPU credits during idle periods and spend them during peak usage.
t3.small: Slightly larger than the t2.micro, this instance type offers 2 vCPUs and 2 GiB of memory. It provides a balance of burstable performance and baseline performance for consistent workloads.
- Compute Optimized Instances (e.g., c5.large, c5n.xlarge): Compute Optimized instances are designed for compute-intensive workloads that require high-performance processors. They are well-suited for applications such as high-performance web servers, scientific modeling, and machine learning inference. Key Compute Optimized instance types include:
c5.large: This instance type provides 2 vCPUs, 4 GiB of memory, and high-performance processors optimized for compute-intensive workloads. It offers a good balance of compute power and memory capacity.
c5n.xlarge: Similar to the c5.large, this instance type offers 4 vCPUs and 10 GiB of memory, but with enhanced networking capabilities for applications that require high network throughput.
- Memory Optimized Instances (e.g., r5.2xlarge, x1e.32xlarge): Memory Optimized instances are designed for memory-intensive workloads, such as in-memory databases, real-time analytics, and high-performance caching. These instances provide a large amount of RAM to handle data-intensive tasks. Notable Memory Optimized instance types include:
r5.2xlarge: With 8 vCPUs and 64 GiB of memory, this instance type is suitable for memory-intensive applications. It offers a good balance between compute and memory resources.
x1e.32xlarge: This instance type is specifically designed for memory-intensive workloads with massive amounts of data. It features 128 vCPUs and a massive 3,904 GiB of memory, making it ideal for in-memory databases and large-scale analytics.
- Storage Optimized Instances (e.g., i3.large, i3en.3xlarge): Storage Optimized instances are designed for applications that require high-performance, low-latency storage systems. They are commonly used for tasks such as NoSQL databases, data warehousing, and log processing. Notable Storage Optimized instance types include:
i3.large: This instance type provides 2 vCPUs, 15.25 GiB of memory, and local SSD storage. It is well-suited for applications that require high IOPS and low-latency access to local storage.
i3en.3xlarge: With 8 vCPUs, 96 GiB of memory, and large local NVMe-based SSD storage, this instance type is optimized for high-performance storage-intensive workloads, such as in-memory databases and data warehousing.
These are just a few examples of the wide range of EC2 instance types available. It's essential to carefully choose the instance type that aligns with your workload requirements to ensure optimal performance, cost-efficiency, and scalability. AWS provides detailed documentation and resources to help you choose the most suitable instance type based on your specific use case.
Elastic IP Addresses:
EC2 allows users to associate Elastic IP addresses with their instances. Elastic IP addresses are static, public IP addresses that can be associated with instances, providing a consistent IP for applications that require a fixed endpoint. Elastic IP addresses are particularly useful when instances need to be stopped and started, as they remain associated with the instance even after it's stopped.
Elastic Block Store (EBS):
EC2 instances can utilize Amazon Elastic Block Store (EBS) to provide persistent block-level storage volumes. EBS volumes are highly available and durable, offering consistent low-latency performance. EBS volumes can be attached to EC2 instances, allowing users to store and access data independently of the instance lifecycle. EBS supports features like snapshots for data backup and replication for high availability.
Auto Scaling:
EC2 Auto Scaling enables automatic scaling of instances based on predefined conditions. It helps maintain application availability and ensures that the capacity matches the workload demands. With Auto Scaling, users can define scaling policies based on metrics like CPU utilization, network traffic, or application-specific metrics. This feature allows instances to be automatically added or removed based on the scaling policies, optimizing performance and cost efficiency.
Load Balancing:
Elastic Load Balancing is a service that distributes incoming traffic across multiple EC2 instances. It enhances the availability and fault tolerance of applications by automatically distributing traffic across healthy instances. Load Balancers can be configured to use various algorithms to distribute traffic, such as round-robin or least connections. Additionally, they can be integrated with Auto Scaling to dynamically adjust the number of instances based on traffic patterns.
Virtual Private Cloud (VPC):
EC2 instances can be deployed within a Virtual Private Cloud (VPC), which provides a logically isolated section of the AWS Cloud. VPC allows users to define and control their virtual network environment, including IP address ranges, subnets, route tables, and network gateways. It enables users to customize their network settings and establish secure communication between instances and other AWS services.
SSH and SSH Troubleshooting
SSH (Secure Shell) is a widely used cryptographic network protocol that provides a secure method for remote login and command execution on a remote machine. It establishes an encrypted connection between the client and the server, ensuring the confidentiality and integrity of data transmitted over the network. Here is a detailed explanation of SSH and common troubleshooting techniques:
- How SSH Works: SSH uses public-key cryptography to authenticate the remote server and the client. When a client attempts to establish an SSH connection to a server, the following steps occur:
a. Client-Server Handshake: The client sends a connection request to the server, indicating its intent to establish an SSH session.
b. Server Authentication: The server responds by providing its public key certificate. The client verifies the server's authenticity by checking the digital signature against a trusted list of public keys.
c. Key Exchange: The client and server negotiate a session key using Diffie-Hellman key exchange or a similar algorithm. This session key is used for encryption and decryption during the session.
d. User Authentication: The client presents its public key or username/password combination for authentication. The server validates the credentials, allowing or denying access based on the authentication method configured.
e. Encrypted Communication: Once authenticated, the client and server exchange encrypted data, ensuring the confidentiality and integrity of the session.
- SSH Troubleshooting: When troubleshooting SSH connectivity issues, it is essential to understand common causes and potential solutions. Here are some common troubleshooting techniques:
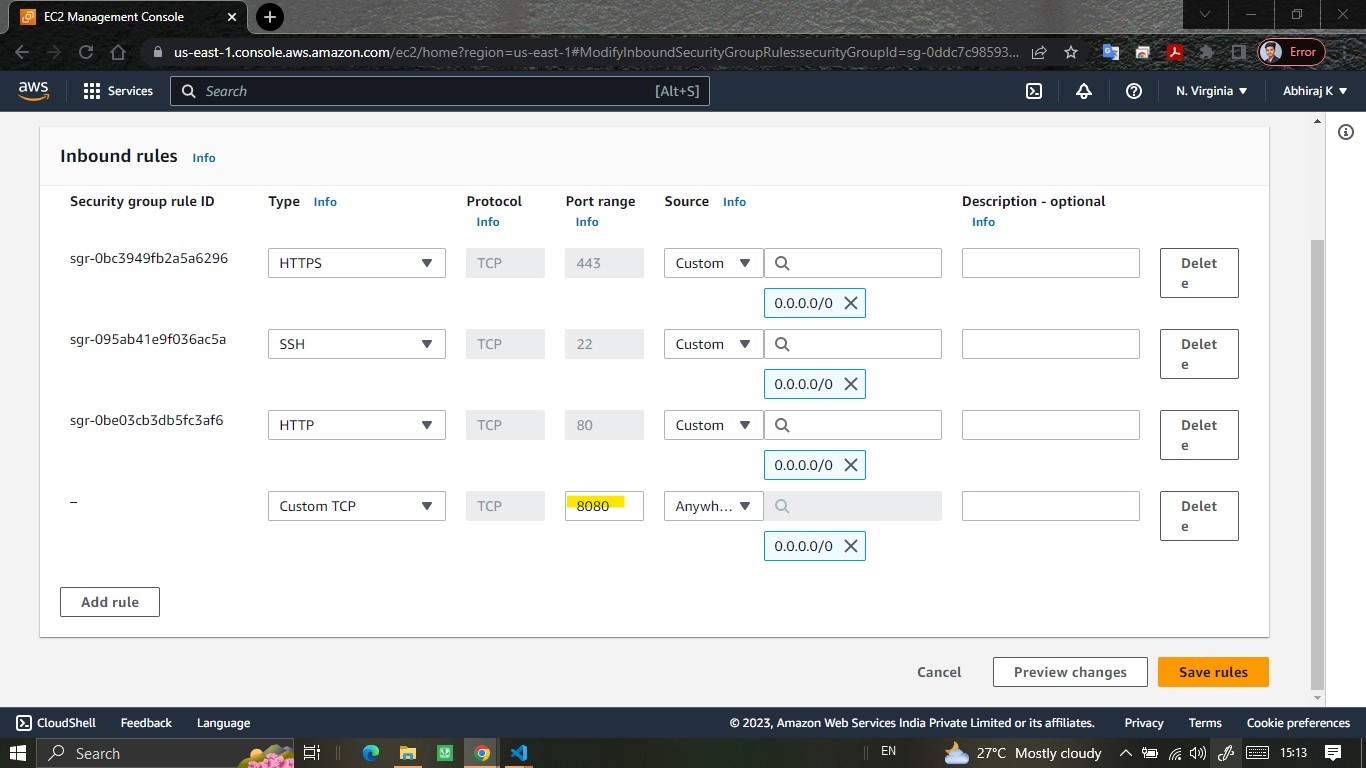
a. Verify Security Group Rules: Ensure that the security group associated with the EC2 instance allows SSH traffic (typically on port 22). Check both inbound and outbound rules, ensuring that the necessary ports are open for SSH connections.
b. Check SSH Key Pair: Ensure that the correct SSH key pair is used when attempting to connect to the instance. The public key must be associated with the instance during its creation. If needed, generate a new key pair and associate it with the instance.
c. Firewall and Network Issues: Check if there are any local firewall settings or network configurations that may be blocking SSH connections. Temporarily disable local firewalls or try connecting from a different network to isolate network-related issues.
d. Check Instance Status: Verify that the EC2 instance is running and in a healthy state. If the instance is in a stopped or terminated state, SSH connections will not be possible. Start or launch a new instance if necessary.
e. Access Control and User Permissions: Ensure that the user attempting to connect has the necessary permissions and is added to the appropriate security groups in AWS Identity and Access Management (IAM). Check the user's IAM policies to confirm that they have the required permissions for SSH access.
f. Logging and Debugging: Enable SSH server logs on the EC2 instance to gather more information about the connection attempts. Review the logs for any error messages or indications of connection issues. Additionally, some SSH clients offer verbose mode, which provides detailed debugging information during the connection process.
g. SSH Service Configuration: Check the SSH server configuration file (/etc/ssh/sshd_config) on the EC2 instance. Ensure that the necessary settings, such as port number, authentication methods, and allowed users, are properly configured.
h. Security Group and Network ACLs: Verify that the associated security group and network ACLs allow inbound and outbound traffic for SSH connections. Ensure that the correct IP addresses or IP ranges are whitelisted in the security group and network ACL settings.
i. SSH Client and Software Updates: Ensure that you are using an up-to-date SSH client and that both the client and server software versions are compatible. Outdated software may have known issues or vulnerabilities that can affect SSH connectivity.
j. Consult AWS Documentation and Community Forums: If the troubleshooting steps above do not resolve the issue, consult the official AWS documentation and community forums for specific error messages or issues related to SSH connectivity. The AWS community is often helpful in providing insights and solutions to common SSH problems.
Ways to Connect to EC2 Instances
When working with Amazon EC2 instances, there are multiple ways to connect and interact with them depending on your requirements and preferences. Here are the detailed ways to connect to EC2 instances:
SSH (Secure Shell):
SSH is a widely used protocol for securely accessing and managing remote servers. To connect to an EC2 instance via SSH, you will need the following:
a. Public IP or DNS: Each EC2 instance is assigned a public IP address or DNS (Domain Name System) name. This serves as the endpoint for connecting to the instance.
b. Key Pair: During the instance creation process, you can associate an SSH key pair with the EC2 instance. The private key is used to authenticate and establish a secure connection between your local machine and the remote instance.
To connect using SSH, follow these steps:
a. Obtain the public IP or DNS of the EC2 instance from the AWS Management Console or command-line interface.
b. Open a terminal or SSH client on your local machine.
c. Use the SSH command along with the path to the private key file and the username associated with the instance's operating system. For example:
ssh -i /path/to/private_key.pem username@public_ip_or_dns
Replace /path/to/private_key.pem with the path to your private key file, username with the appropriate username (e.g., "ec2-user" for Amazon Linux, "ubuntu" for Ubuntu instances), and public_ip_or_dns with the actual IP or DNS.
AWS Management Console:
The AWS Management Console provides a web-based interface for managing various AWS services, including EC2 instances. To connect via the console:
a. Log in to the AWS Management Console.
b. Navigate to the EC2 service.
c. Locate the desired instance and select it.
d. From the "Actions" menu, choose "Connect."
e. Follow the on-screen instructions to establish a remote connection using the browser-based SSH client provided by the console.
The AWS Management Console SSH client allows you to perform basic administrative tasks on the instance without requiring a separate SSH client on your local machine.
Remote Desktop Protocol (RDP):
For Windows-based EC2 instances, you can connect using Remote Desktop Protocol (RDP) to access a graphical interface. RDP allows you to interact with the Windows desktop environment of the EC2 instance. Here's how to connect using RDP:
a. Obtain the public IP or DNS of the Windows EC2 instance.
b. Ensure that the Windows instance has a security group rule allowing RDP traffic (port 3389) from your IP address.
c. Open the Remote Desktop client on your local machine (e.g., Microsoft Remote Desktop for Windows, Remmina for Linux, or CoRD for macOS).
d. Enter the public IP or DNS of the Windows instance in the Remote Desktop client.
e. Provide the username and password associated with the Windows instance.
f. Click "Connect" to establish the RDP session.
Note: Windows instances require a password that is generated during the instance creation process. Make sure to securely store the password or use an alternative method like AWS Systems Manager Parameter Store for managing RDP passwords.
These methods allow you to connect to EC2 instances securely and manage them according to your needs. Whether using SSH for command-line access, the AWS Management Console for browser-based access, or RDP for Windows instances, you can effectively interact with your EC2 instances based on your specific requirements.
EC2 Purchase Options
When provisioning Amazon EC2 instances, AWS offers various purchase options to cater to different workload requirements and cost considerations. Here are the detailed EC2 purchase options available:
On-Demand Instances:
On-Demand Instances are suitable for workloads with unpredictable or short-term usage patterns. With this option, you pay for compute capacity on an hourly or per-second basis, without any upfront commitments or long-term contracts. Key features of On-Demand Instances include:
Flexibility: On-Demand Instances provide the ability to scale compute capacity up or down based on demand, allowing you to add or terminate instances as needed.
No Upfront Costs: There are no upfront payments or minimum commitments associated with On-Demand Instances.
Pay-as-you-go: You are billed only for the actual compute capacity consumed, calculated by the hour or second depending on the instance type.
On-Demand Instances are an excellent choice for applications with variable workloads, unpredictable traffic patterns, or short-term projects.
Reserved Instances:
Reserved Instances (RIs) provide a significant discount on the hourly rate compared to On-Demand Instances. RIs require a commitment for a specific term, typically one or three years, and come with various payment options:
Standard Reserved Instances: These offer the highest level of discount and provide a capacity reservation when launching instances within the specified region. They are suitable for steady-state workloads with predictable usage patterns.
Convertible Reserved Instances: Convertible RIs offer the flexibility to change instance attributes, such as instance type, within the same instance family during the term. This option is ideal for workloads that may require modifications or have evolving usage patterns.
Scheduled Reserved Instances: Scheduled RIs allow you to reserve capacity for specific time windows on a recurring basis. This is useful for workloads with fixed, predictable schedules, such as batch processing or data warehousing.
Reserved Instances provide significant cost savings for applications with consistent or predictable workloads over a more extended period.
Spot Instances:
Spot Instances offer the ability to bid for unused EC2 capacity in the AWS Spot Market. The Spot Market allows you to access spare capacity at significantly discounted prices, sometimes up to 90% less than On-Demand rates. Key features of Spot Instances include:
Bid-Based Pricing: Spot Instance prices fluctuate based on supply and demand in the Spot Market. Users bid on the maximum price they are willing to pay for instance usage.
Flexible Workloads: Spot Instances are ideal for workloads that have flexible start and end times, or can tolerate interruptions. They are commonly used for tasks like data analysis, batch processing, scientific research, and fault-tolerant applications.
Termination Notifications: AWS provides a two-minute warning before terminating Spot Instances, allowing you to gracefully handle instance termination.
Spot Instances offer substantial cost savings but may not be suitable for time-sensitive or mission-critical workloads.
It's worth noting that EC2 purchase options can be combined to optimize cost and flexibility. For example, you can use Reserved Instances for steady-state workloads and complement them with Spot Instances during peak demand to further reduce costs.
To determine the most cost-effective option for your workloads, AWS provides tools like AWS Cost Explorer and AWS Budgets, which can help analyze usage patterns, estimate costs, and make informed decisions.
Understanding and leveraging the appropriate EC2 purchase options allows you to optimize costs while meeting the needs of your applications and workloads, whether they are short-term, predictable, or have flexible demands.
Create an AWS EC2 Instance
We will create an AWS EC2 instance. We will use t2.micro Ubuntu instance with a 10GB root volume.
you can follow the following steps to launch a new instance:
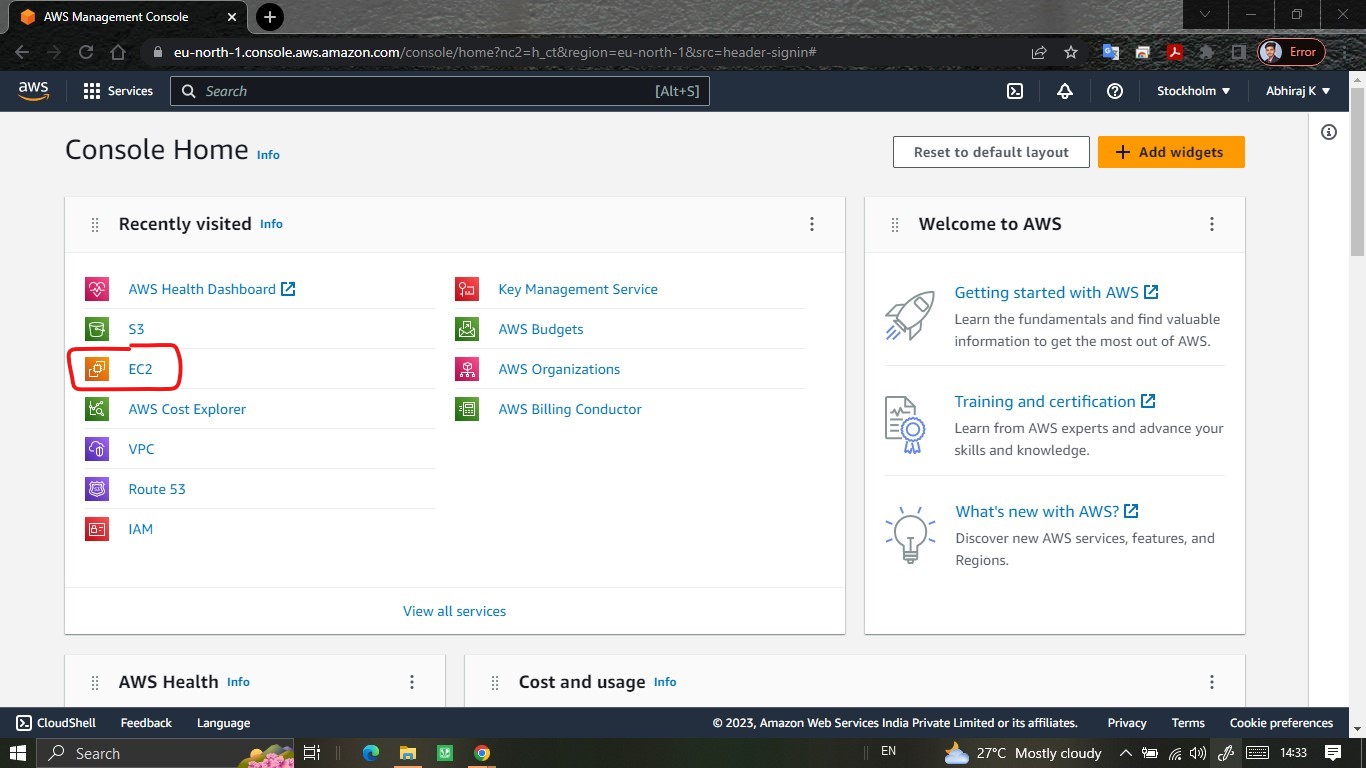
Log in to your AWS Management Console.
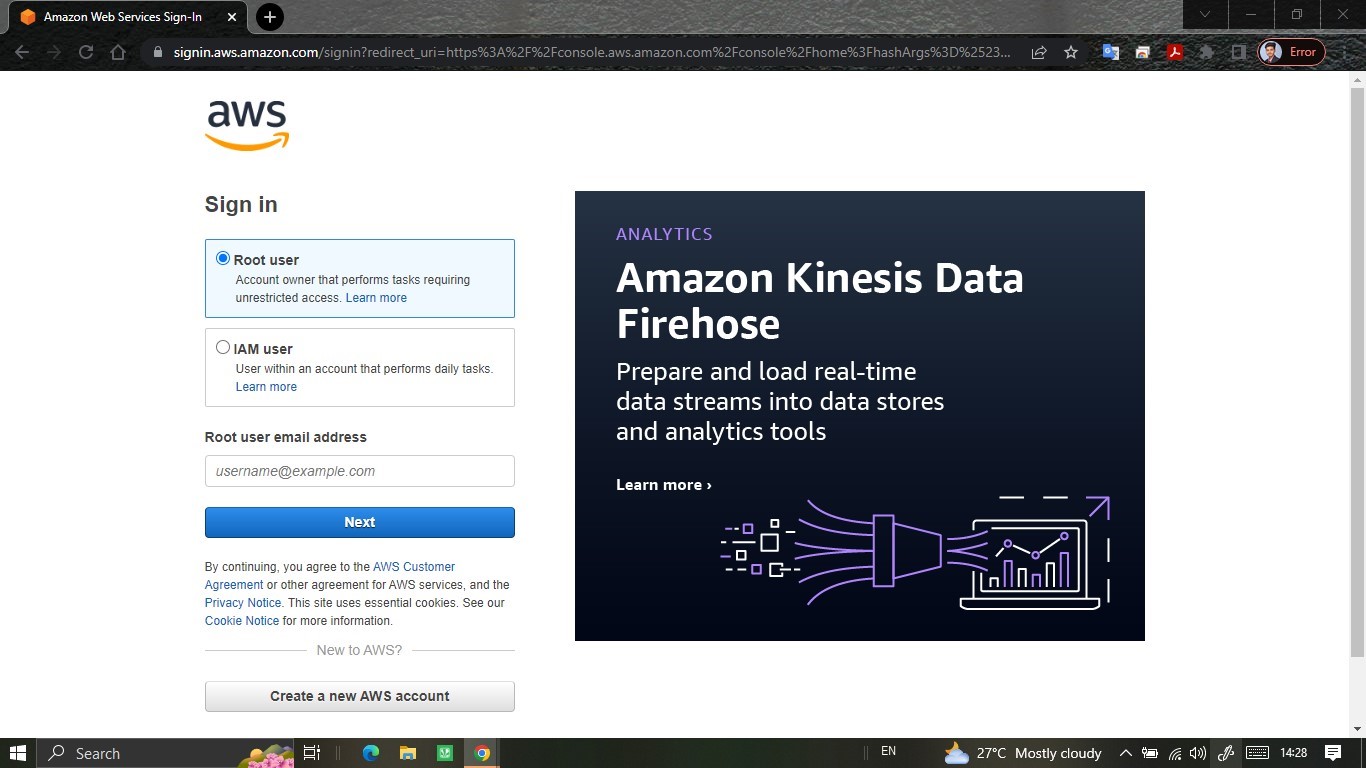
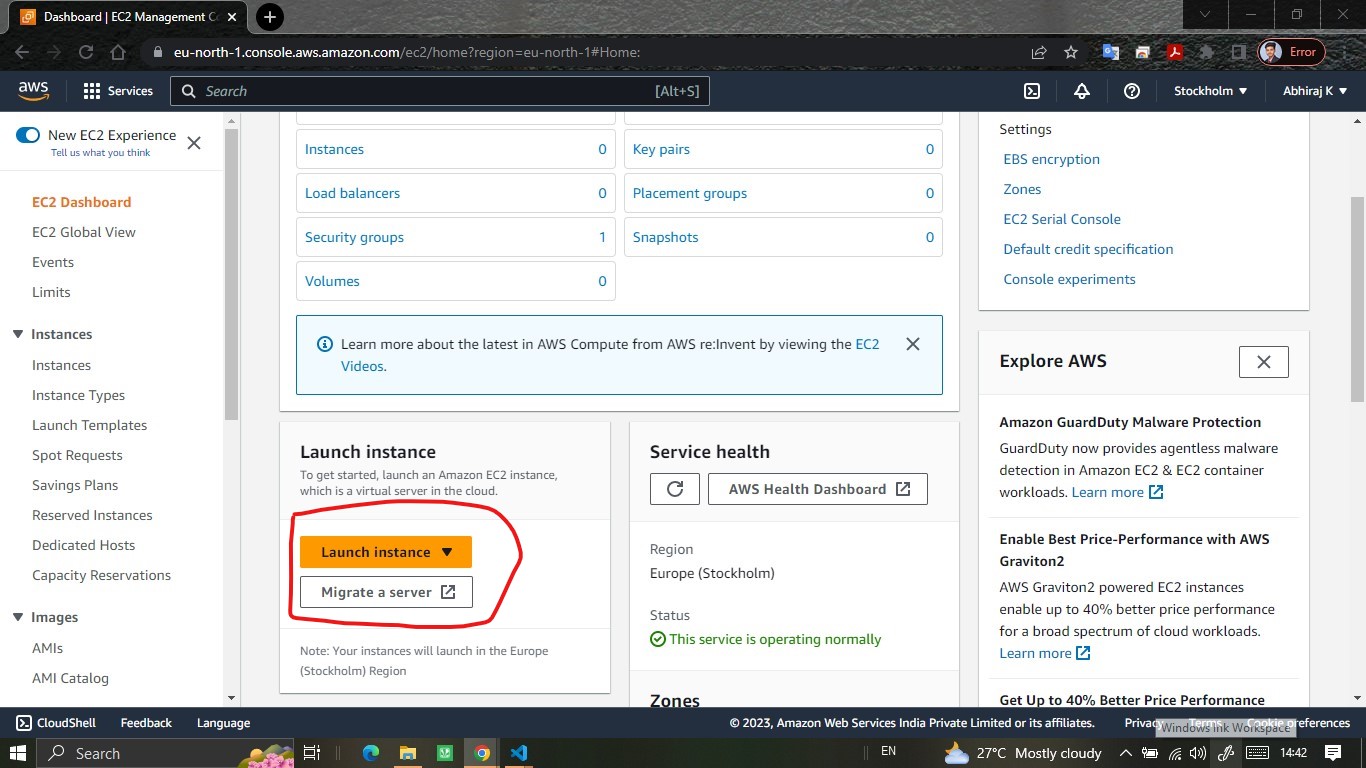
Navigate to the EC2 Dashboard.
Click on the "Launch Instance" button.
Choose the Amazon Machine Image (AMI) for Ubuntu 22.04 LTS. You can find it by typing "Ubuntu" in the search box and selecting the version from the list.
Choose the instance type as "t2.micro".
Click on the "Next: Configure Instance Details" button.
On the "Configure Instance Details" page, you can leave the default settings or adjust them as needed. You can choose the VPC, subnet, IAM role, and other settings.
Click on the "Next: Add Storage" button.
On the "Add Storage" page, you can leave the default settings or adjust them as needed. You can add additional EBS volumes if necessary.
Click on the "Next: Add Tags" button.
On the "Add Tags" page, you can add tags to your instance for easy identification and management.
Click on the "Next: Configure Security Group" button.
On the "Configure Security Group" page, you can create a new security group or use an existing one.
Click on the "Review and Launch" button.
On the "Review Instance Launch" page, review your settings and make any necessary changes.
Click on the "Launch" button.
Choose an existing key pair or create a new one to use for SSH access.
Click on the "Launch Instances" button.
Your EC2 instance of t2.micro and Ubuntu 22.04 LTS is now being launched.
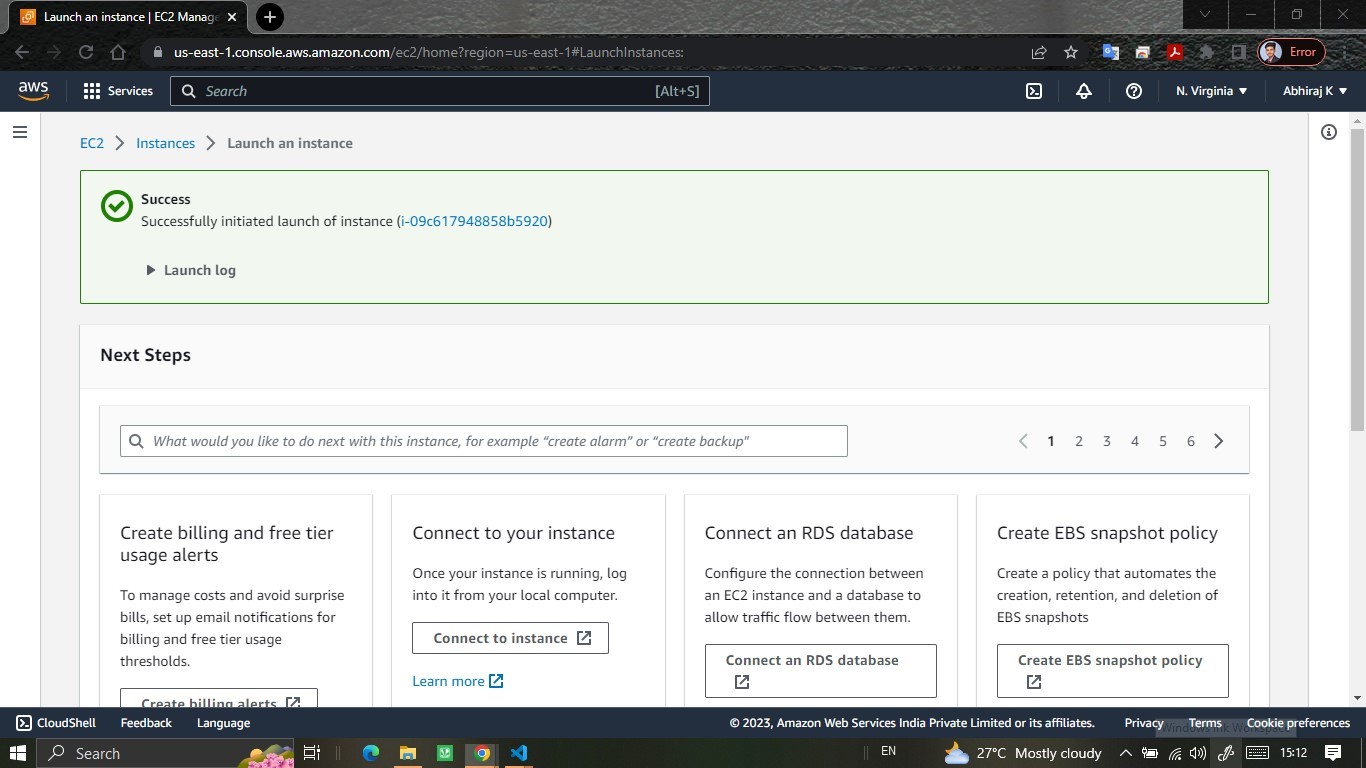
Once it's up and running, you can connect to it using SSH and start using it as needed.
You can also follow the AWS documentation to create an EC2 instance: https://docs.aws.amazon.com/AWSEC2/latest/UserGuide/EC2_GetStarted.html
EC2 Best Practices
Implementing best practices when using Amazon EC2 instances helps optimize performance, security, cost-efficiency, and overall management of your infrastructure. Here are detailed EC2 best practices to consider:
Security:
a. Secure SSH Access: Use secure SSH access by restricting SSH connections to specific IP ranges or IP addresses through security groups. Also, consider disabling SSH access for the root user and instead use a separate user with elevated privileges.
b. Utilize Security Groups: Configure security groups to control inbound and outbound traffic to your EC2 instances. Limit access to necessary ports and protocols, following the principle of least privilege.
c. Regular Updates: Keep your EC2 instances up to date with the latest operating system patches, security updates, and software packages. Regularly apply security patches to mitigate vulnerabilities.
d. Use AWS Identity and Access Management (IAM): Follow the principle of least privilege and use IAM roles and policies to manage user access to EC2 instances. Avoid using AWS access and secret keys on instances whenever possible.
e. Enable Encryption: Encrypt sensitive data at rest using Amazon Elastic Block Store (EBS) encryption or third-party encryption solutions. Also, consider enabling encryption for data in transit using SSL/TLS protocols.
Resource Optimization:
a. Right-Sizing: Choose EC2 instance types and sizes that match your workload requirements. Continuously monitor and optimize resource utilization to avoid overprovisioning or underutilization.
b. Auto Scaling: Utilize EC2 Auto Scaling to automatically adjust the number of instances based on workload demands. This helps maintain optimal performance while minimizing costs during periods of low demand.
c. Load Balancing: Implement Elastic Load Balancing to distribute traffic across multiple EC2 instances. This improves availability, fault tolerance, and allows for efficient resource utilization.
d. Efficient Storage: Optimize storage by selecting the appropriate Amazon EBS volume types and sizes based on your application's performance and capacity needs. Use Amazon S3 for cost-effective and durable object storage.
Backup and Disaster Recovery:
a. Regular Backups: Implement regular backups of critical data stored on EC2 instances. Utilize features like Amazon EBS snapshots to create point-in-time backups for data durability and recovery.
b. Multi-Availability Zone (AZ) Deployment: Deploy EC2 instances across multiple Availability Zones to ensure high availability and fault tolerance. This protects against the failure of a single AZ or hardware failure.
c. Disaster Recovery Planning: Establish comprehensive disaster recovery strategies, including off-site backups, data replication, and failover mechanisms. Consider using AWS services like AWS Backup and AWS Disaster Recovery.
Monitoring and Logging:
a. AWS CloudWatch: Set up CloudWatch alarms to monitor key metrics, such as CPU utilization, network traffic, and disk usage. Leverage CloudWatch Logs to collect and analyze logs for troubleshooting and performance analysis.
b. Performance Optimization: Monitor resource utilization and identify performance bottlenecks. Use CloudWatch metrics and AWS Trusted Advisor to optimize costs, improve performance, and enhance resource efficiency.
c. Log Aggregation: Centralize logs using services like AWS CloudTrail, AWS CloudWatch Logs, or third-party log management tools. This simplifies log analysis, troubleshooting, and auditing.
d. Infrastructure Monitoring: Implement proactive monitoring solutions like AWS Systems Manager, which provides insights into instance health, performance, and operational metrics.
Following these EC2 best practices helps ensure a secure, well-optimized, and resilient infrastructure. Regularly review and update your configuration to align with changing requirements and evolving AWS services. Additionally, refer to AWS documentation and consult with AWS experts for the latest best practices specific to your use case.
Conclusion
Amazon EC2 is a powerful and versatile service that forms the backbone of many cloud-based applications and infrastructure. Understanding its features, connectivity options, troubleshooting techniques, purchase options, and best practices is vital for effectively managing EC2 instances. By following these guidelines, users can optimize their deployments, enhance security, and ensure efficient utilization of cloud resources. Embracing AWS EC2 can pave the way for scalable and resilient infrastructure in the cloud.
Please share your thoughts and opinions on this topic in the comments section below.
The above information is up to my understanding and learning experience. Suggestions are always welcome.
~Abhiraj kharbade
#DevOps #AWS #EC2 #Cloud-Computing
Connect with me :


